Self-Repair Authority: A Manual for Using Manufacturer-Certified Fix Kits
This Self-Repair Authority manual gives clear steps to use manufacturer-certified fix kits.
It helps you repair safely, keep warranty support, and get devices working again. Your phone died faster than expected after an update in 2026.You found a certified fix kit but felt unsure where to begin.
You can stop paying repair fees for routine fixes.
Prerequisites & What You Need to Start Repairs
Why this prep matters: Get the right gear to avoid delays and extra costs.
A calm, organized start saves time and keeps parts usable.
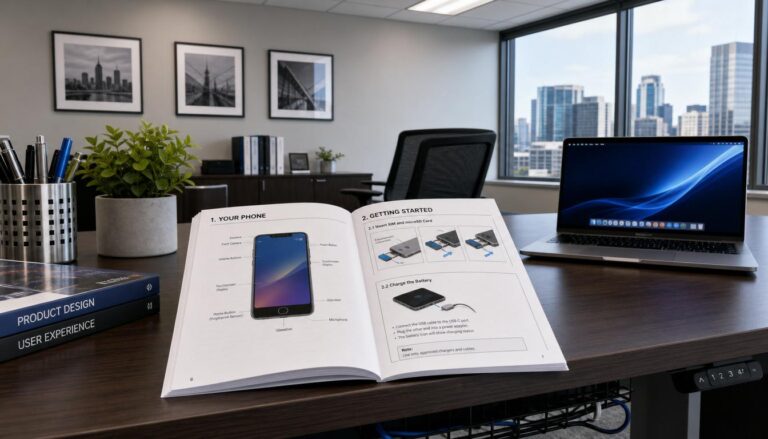
- Manufacturer-certified fix kit for your exact model.
- Clean, static-free workspace or ESD mat.
- Precision toolkit supplied in the kit.
- Updated device software or bootloader if required.
- Latest version of manufacturer repair app, if needed.
- Replacement parts with matching serial numbers.
- Disposable gloves, microfiber cloth, and isopropyl alcohol 90%+.
- Small, labeled containers for screws and tiny parts.
Read kit instructions once before you begin. Always confirm model numbers and serials match.
Quick-Win: Lay out parts and tools in order before you touch the device.
Executive Summary: How We Help You Repair Devices
We guide you step-by-step to use certified kits and keep warranty coverage.
We focus on safety, verification, and efficient reassembly.
Follow checks to confirm part authenticity and match software steps.
Use visual and software tests to verify repair success quickly.
Quick-Win: Take a before-photo and note serials. It speeds warranty claims if needed.
Understanding Manufacturer-Certified Fix Kits
Why this matters: Certified kits include tested parts and guided procedures.
They reduce compatibility issues and preserve eligibility for official support.
- Inspect kit contents against the parts list that came with the kit.
- Scan or enter part serials in the manufacturer repair portal.
- Confirm firmware compatibility before you install hardware parts.
Note: Manufacturer kits often include software codes or pairing steps required to certify the repair.
Safety and Workspace Setup
Why this matters: Safe setup prevents damage to components and to you.
A controlled space reduces ESD risk and accidental loss of tiny parts.
- Ground yourself using an anti-static wrist strap or ESD mat.
- Clear a well-lit table and arrange tools in use order.
- Use a magnetic screw pad or labeled containers for fasteners.
Pro-Tip: Work near a power outlet and keep device battery at advised charge levels for testing.
Diagnosis and Parts Verification
Why this matters: Correct diagnosis prevents wasted parts and repeat disassembly.
Verifying parts avoids installing incompatible components.
- Run the manufacturer diagnostic app or built-in hardware tests.
- Compare diagnostic codes to the repair kit instructions.
- Verify replacement part serial numbers against the kit manifest.
Note: Keep diagnostic logs and screenshots for warranty or support conversations.
Battery and Power Repairs
Why this matters: Batteries cause many failures, and safe handling matters.
Using certified cells preserves device charging behavior and safety features.
- Power down and disconnect the device before any battery work.
- Remove adhesive according to kit instructions using safe heat if required.
- Install the certified cell and run the manufacturer charge calibration.
Pro-Tip: Replace only with the exact certified battery model to maintain thermal profiles.
Screen and Display Replacements
Why this matters: Modern displays tie into touch and camera calibration.
Certified screens maintain color profile and sensor alignments.
- Follow stepwise separation, avoiding bending or flexing the display assembly.
- Use supplied adhesive and alignment guides for consistent seating.
- Calibrate touch and proximity sensors with the manufacturer’s tool.
Note: Avoid third-party adhesives that can trap dust or distort display pressure points.
Motherboard and Component-Level Repairs
Why this matters: Component work must protect tiny traces and sensitive chips.
Manufacturer parts match tolerances and firmware expectations.
- Use ESD-safe tools and follow torque limits for connector screws.
- Replace daughterboards or modules per kit diagrams, keeping shielding intact.
- Reflash or update firmware if the manufacturer requires part pairing.
Pro-Tip: Label ribbon cables and connectors during disassembly to avoid misrouting.
Software Pairing, Calibration, and Tests
Why this matters: Hardware often needs software pairing to work correctly.
Calibration ensures sensors and power systems behave as intended.
- Run the manufacturer repair app after reassembly to register parts.
- Follow on-screen pairing or calibration steps in order.
- Perform functional tests: charging, display, audio, radios, and cameras.
Note: If auto-pairing fails, reboot and retry before requesting support.
Warranty, Returns, and Documentation
Why this matters: Proper documentation protects your rights and future support options.
Knowing return windows and test logs avoids denied claims.
- Photograph serial numbers and the replaced part before disposal.
- Upload diagnostic logs and images to the manufacturer portal if required.
- Keep original packaging and receipts until warranty periods pass.
Pro-Tip: If a replacement fails within the return window, provide timestamps and test logs with your claim.
Choosing the Right Kit: Quick Comparison
Why this matters: Picking the correct service level saves money and time.
Compare cost, tools included, skill needs, and warranty level before you buy.
| Kit / Service Level | Cost Range | Included Tools | Skill Level | Warranty Support |
|---|---|---|---|---|
| Manufacturer Basic Kit | $30–$80 | Basic screwdrivers, adhesive | Beginner | Limited replacement warranty |
| Manufacturer Pro Kit | $80–$180 | Full toolkit, guides, software keys | Intermediate | Extended support and calibration |
| Authorized Service Plan | $100–$300+ | Tech-assisted, parts, shipping | Low effort for user | Full service with parts replacement |
Note: Pick the kit that matches your comfort and the device’s complexity.
Implementation Roadmap: Quick-Start Checklist
Why this matters: A quick roadmap gets you from box to working device fast.
Follow these five actions to finish a standard repair in one sitting.
- Unbox, verify parts, and photograph serial numbers.
- Set up ESD-safe workspace and organize tools in sequence.
- Power down device, remove battery if removable, and follow disassembly.
- Replace the certified part and reassemble using supplied adhesives.
- Run manufacturer pairing and perform all functional tests.
Quick-Win: Start with a short dry-run of steps using photos and notes before you touch the device.
FAQ
Why this matters: Common questions slow repairs; clear answers speed results.
These five questions reflect real 2026 scenarios and practical next steps.
Q1: Will using a manufacturer-certified kit void my warranty?
A1: Using a certified kit usually does not void warranty. Keep proof of part authenticity and follow official instructions. Many manufacturers allow user repairs with certified parts. Upload serials, photos, and diagnostic logs if the portal asks. If a separate failure occurs, provide evidence of proper installation. Always check the specific warranty terms for your device model.
Q2: What if the device still fails after the repair steps?
A2: Re-run diagnostic tests and capture error codes and screenshots. Confirm parts were paired and firmware was updated. Try a controlled reboot and full calibration sequence. If issues persist, contact manufacturer support with logs and images. They may request return or remote diagnostics. Keep all receipts and photos to fast-track a replacement claim.
Q3: How do I avoid damaging connectors and ribbons?
A3: Use ESD-safe plastic pry tools and follow torque guidance for screws. Hold connectors by their reinforced tabs to avoid stress on solder joints. Work under good light and use a magnifier if needed. Label each ribbon and screw position during disassembly. If a ribbon resists, check for hidden screws or adhesive before applying force.
Q4: Can manufacturers refuse support if I used a kit?
A4: Manufacturers usually offer support when you use their certified kits properly. They may require proof of part authenticity and correct installation. If an unrelated issue arises, they will diagnose it under their normal policy. Keep detailed logs and images to demonstrate compliance. If denied, escalate with the documented steps and timestamps you recorded.
Q5: Is there special software I must install on my computer?
A5: Some repairs require a manufacturer repair app or a driver to register parts. Download official tools only from the manufacturer’s site. Use the latest app version specified in the kit. Keep your OS updated, and disable third-party security software only if the manufacturer instructs. Save a copy of firmware files and logs before starting the process.
Quick-Win: Save each diagnostic log and timestamp for faster support and warranty claims.
Conclusion: The Self-Repair Authority: A Manual for Using Manufacturer-Certified Fix Kits
You fixed common 2026 device problems with safe steps and certified parts.
Keep photographs, logs, and serial records. They protect your rights and time.
12-Month Outlook: Hardware trend — Wider availability of modular components.
Many brands will offer more user-replaceable modules for batteries and cameras.
12-Month Outlook: Software trend — More automated part pairing and verification tools.
Manufacturers will expand repair apps to auto-register components and run guided calibrations.
Quick-Win: Archive photos, serials, and logs in cloud storage for easy retrieval.
Meta description: The Self-Repair Authority: practical guide to using manufacturer-certified fix kits for safe repairs, parts pairing, and warranty-friendly results.
SEO tags: self-repair, certified fix kits, device repair manual, manufacturer parts, DIY electronics repair, repair warranty, repair app guide