Smart Patch Deployment for CGM: Correct Adhesion, Calibration, and Data Transmission Protocols
Your sensor stopped uploading overnight, and your phone shows a drained battery. You checked the adhesive and the readings still drop. Use this Smart Patch Deployment for CGM manual to fix adhesion, calibration, and upload errors fast.
Practical steps follow. We save you time and prevent wasted sensors.
Prerequisites & What You Need
- Compatible CGM patch or sensor (brand-specific).
- Smartphone with the latest CGM app version.
- Alcohol wipes, skin barrier film, and hypoallergenic adhesive patches.
- Scissors, mirror, and hair clip or small razor.
- Stable Wi‑Fi or cellular connection for initial pairing.
- Portable charger for the transmitter if applicable.
- Clean, dry towel and adhesive remover wipes.
Quick-Win: Charge your phone to at least 50% before pairing.
Executive Summary: Fast Fixes for Adhesion and Data
Two lines: You will learn correct patch placement and calibration routines. You will also restore reliable data transmission quickly.
Patch Selection & Skin Prep
Why This Matters
Correct patch choice and skin prep reduce dropouts and wasted sensors. A clean base means longer wear and fewer false alarms.
- Inspect the patch box for expiry and adhesive type. Confirm you have the right model for your transmitter.
- Clean the site with an alcohol wipe. Let the skin dry for at least 30 seconds.
- Apply barrier film if you have sensitive or oily skin. Press until dry.
Note: Replace barrier film if it peels while you prepare the sensor.
Correct Adhesion Technique
Why This Matters
Good adhesion prevents lifts during showers, workouts, and sleep. A secure sensor keeps your readings stable and reliable.
- Shave or trim hair at the site. Hair causes gaps under the adhesive.
- Warm the adhesive by rubbing the backing with your palm for ten seconds. This improves stickiness.
- Press firm pressure from center to edges for 30 seconds after placement. Use fingers or a small cloth.
Pro-Tip: Use extra hypoallergenic adhesive stickers around the sensor edges for high-movement areas.
Managing Sweat, Moisture, and Movement
Why This Matters
Moisture and friction are common causes of failure on hot days and workouts. Managing them extends wear and reduces sensor failure.
- Choose low-sweat areas when possible. The upper arm often works well for active days.
- Apply a sweat guard or extra adhesive overlay before heavy exercise. Re-press after sweating.
- Dry the site before applying new adhesive. Use a towel to remove residual salt or lotion.
Note: Replace adhesive overlays after heavy sweating or a long swim.
Calibration Best Practices
Why This Matters
Accurate calibration prevents wrong insulin decisions and false hypoglycemia alerts. Proper timing and technique stabilize readings.
- Calibrate only when your glucose trend is stable. Avoid calibrating during rapid rises or falls.
- Use a fresh fingerstick meter strip. Wash and dry your hands before the fingerstick.
- Enter the meter value into the app within the sensor’s calibration window. Wait five minutes before trusting new readings.
Pro-Tip: If the app rejects a calibration, wait ten minutes and repeat the fingerstick.
Sensor Warm-Up and Verification
Why This Matters
Sensors need a warm-up to settle and give accurate numbers. Verifying early prevents hours of bad data.
- Start the sensor and allow the full manufacturer warm-up period. Avoid activities that pull the adhesive.
- After warm-up, compare the first reading to a fingerstick. Expect a small delta initially.
- If the delta exceeds manufacturer limits, re-calibrate or reposition the transmitter if allowed.
Note: Do not cut the warm-up short. Readings stabilize over the full period.
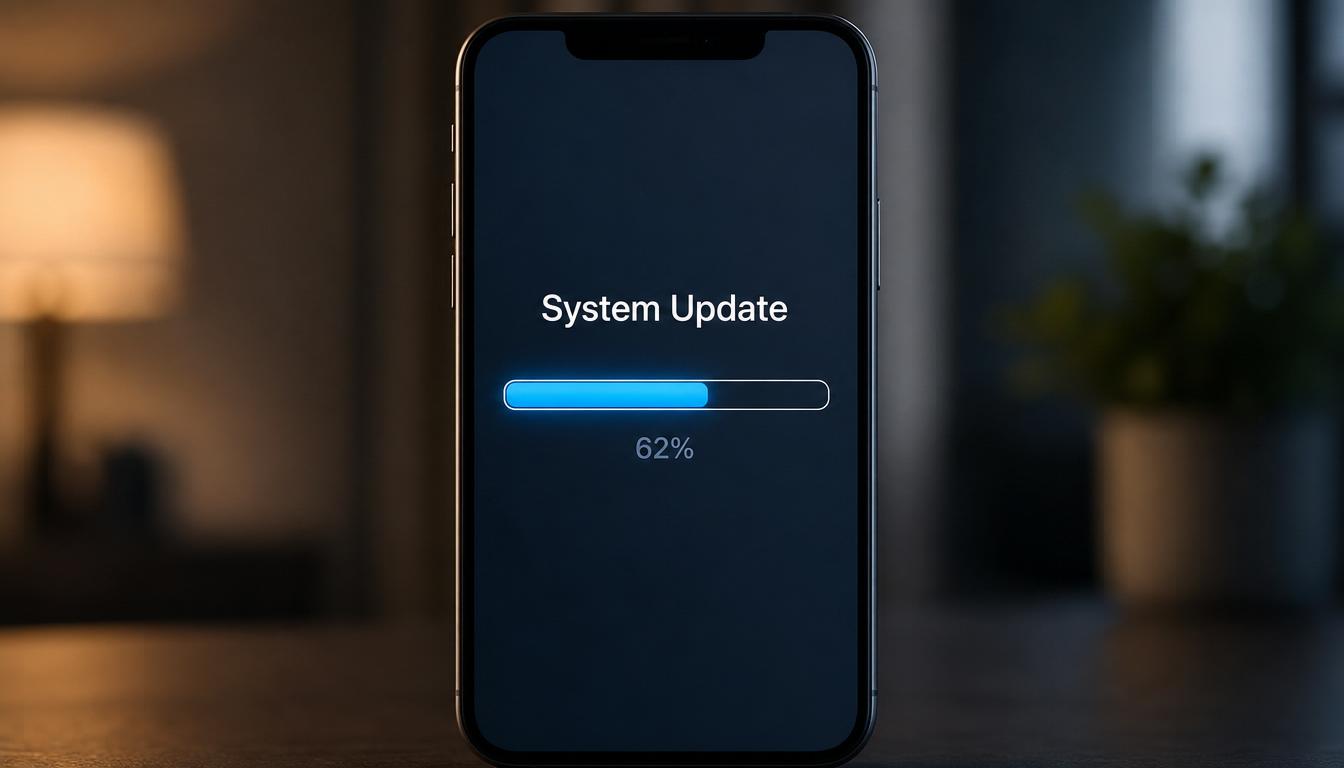
Pairing and App Setup
Why This Matters
Correct pairing prevents lost uploads and pairing errors. Proper app settings ensure timely alerts and backups.
- Update your phone OS and CGM app to the latest versions. Restart your phone before pairing.
- Follow the sensor pairing prompts step by step. Keep the transmitter near the phone during setup.
- Enable background app refresh and notification permissions. Confirm Bluetooth is active.
Pro-Tip: If pairing fails, toggle Bluetooth off and on, then restart the app.
Data Transmission Protocols and Troubleshooting
Why This Matters
Reliable transmission avoids gaps in your glucose history. Knowing common fixes saves time and prevents missed alarms.
- Confirm the transmitter battery and mobile connection. Low transmitter power causes dropouts.
- Check Bluetooth signal and app permissions. Close other Bluetooth-heavy apps during uploads.
- Use the app’s diagnostics to force a re-sync. If issues persist, restart both phone and transmitter.
Note: Keep a log of dropouts to share with tech support if problems recur.
Maintenance, Replacements, and Safety
Why This Matters
Routine maintenance reduces skin reactions and sensor waste. Knowing when to replace parts protects your health.
- Remove adhesive residue with manufacturer‑recommended remover. Inspect skin for irritation.
- Replace sensors on schedule, even if they still seem attached. Old sensors give inaccurate data.
- Store backup sensors and adhesive at recommended temperatures. Avoid direct sunlight.
Pro-Tip: Rotate wear sites to reduce local irritation and scar tissue over weeks.
Implementation Roadmap: Quick-Start Checklist
- Verify device compatibility and update the app and phone OS.
- Prepare the skin: trim, clean, and apply barrier film if needed.
- Apply sensor with warmed adhesive and press edges firmly.
- Complete warm-up, then verify with a fingerstick and calibrate if required.
- Enable permissions and test a short walk or shower to confirm adhesion and uploads.
Quick-Win: Carry adhesive stickers and a compact mirror for fast on-the-go fixes.
Product Comparison Table
| Product / Plan | Adhesion Quality | Battery / Life | App Compatibility | Price Level |
|---|---|---|---|---|
| Dexcom G7 | Strong factory adhesive with optional overlays | 10–14 day sensor life; transmitter integrated | iOS, Android, wide integrations | Mid–High |
| FreeStyle Libre 3 | Slim patch, moderate adhesive, user overlays common | 14-day sensor life; disposable | iOS, Android, growing integrations | Mid |
| Eversense E3 | Implant with adhesive wear for transmitter | Implant lasts 90+ days; transmitter recharges | iOS, Android, clinical integrations | High |
Note: Check each manufacturer’s latest specs before buying.
FAQ
Q1: My sensor keeps disconnecting during exercise. What should I check?
A1: First, confirm the transmitter has enough battery. Low power often drops Bluetooth. Next, examine the adhesive edges for lifts from sweat or friction. Apply an overlay patch across the entire sensor and edges. Ensure your phone stays on your person and not in a bag during activity. If problems persist, log times and contact support for firmware checks.
Q2: When is it okay to recalibrate a sensor after a large glucose swing?
A2: Wait until your glucose trend is stable for at least 15 minutes. Calibrating during rapid change can lock in an inaccurate baseline. Use a fresh fingerstick with clean, dry hands. Enter the value only within the app’s calibration window. If calibration fails twice, pause and retest after stability returns.
Q3: How do I prevent skin irritation from long-term patch use?
A3: Rotate wear sites weekly to avoid constant stress on one area. Use barrier film under the adhesive if you have sensitive skin. Remove residue gently with approved removers and let the skin breathe between sensors. If redness or blistering occurs, stop using that site and consult your clinician promptly.
Q4: What steps restore data after a missed upload overnight?
A4: Start by checking phone battery, app background permissions, and Bluetooth status. Reopen the CGM app and force a manual sync. Restart your phone if needed. If the transmitter reports low battery, schedule a replacement. Keep backups of fingerstick readings to reconstruct any gaps for clinical review.
Q5: Is it safe to extend sensor wear beyond the labeled period to save costs?
A5: Manufacturers test accuracy for the labeled wear period. Extending wear risks drift and inaccurate readings. Skin adhesives also lose integrity over time. For occasional extension, verify with frequent fingersticks and monitor trends closely. Discuss regular extension plans with your clinician to avoid dangerous dosing errors.
Conclusion: Smart Patch Deployment for CGM: Correct Adhesion, Calibration, and Data Transmission Protocols
Follow site prep and adhesive steps for reliable wear and fewer failures. Calibrate only during stable trends and verify after warm-up. Keep phone and transmitter updated to maintain steady data flow and quick alerts.
12-Month Outlook:
- Hardware trend: Expect improved low-profile adhesives and new breathable overlay designs. These will reduce lifts during high-activity days.
- Software trend: Expect smarter on-device error correction and predictive reconnection logic. That will reduce manual re-sync steps.
Meta description: Smart Patch Deployment for CGM: optimize adhesion, calibration, and transmission protocols for reliable glucose data and fewer sensor failures.
SEO tags: CGM adhesion, CGM calibration, glucose sensor troubleshooting, patch deployment guide, transmitter pairing, wearable adhesive, sensor maintenance